> ## Documentation Index
> Fetch the complete documentation index at: https://docs.replit.com/llms.txt
> Use this file to discover all available pages before exploring further.
# Who can access your app
> Control who can open your published app: public, password protected, workspace only, or invite only. No code changes required.
When you publish your app, you control who can open it. Choose an option under **Who can access your app** in the publish settings. Replit handles the sign-in screen and access checks for you, with no code changes required.
Restricting access is useful for apps such as:
* Internal tools
* Apps in the beta testing phase
* Apps that access sensitive information
## Access options
* **Public**: Anyone on the internet with the URL can use your app.
* **Password protected**: Anyone on the internet with the password can use your app. Visitors enter a shared password. They don't need a Replit account.
* **Workspace only**: All admins, members, and viewers in your workspace. Replit marks this option as **Private**.
* **Invite only**: Only you, admins, invited groups, and invited users. Replit marks this option as **Private**. This is the most restrictive option.
The default depends on where you're building: apps in your personal workspace default to **Public**, and apps in an organization workspace default to a private option.
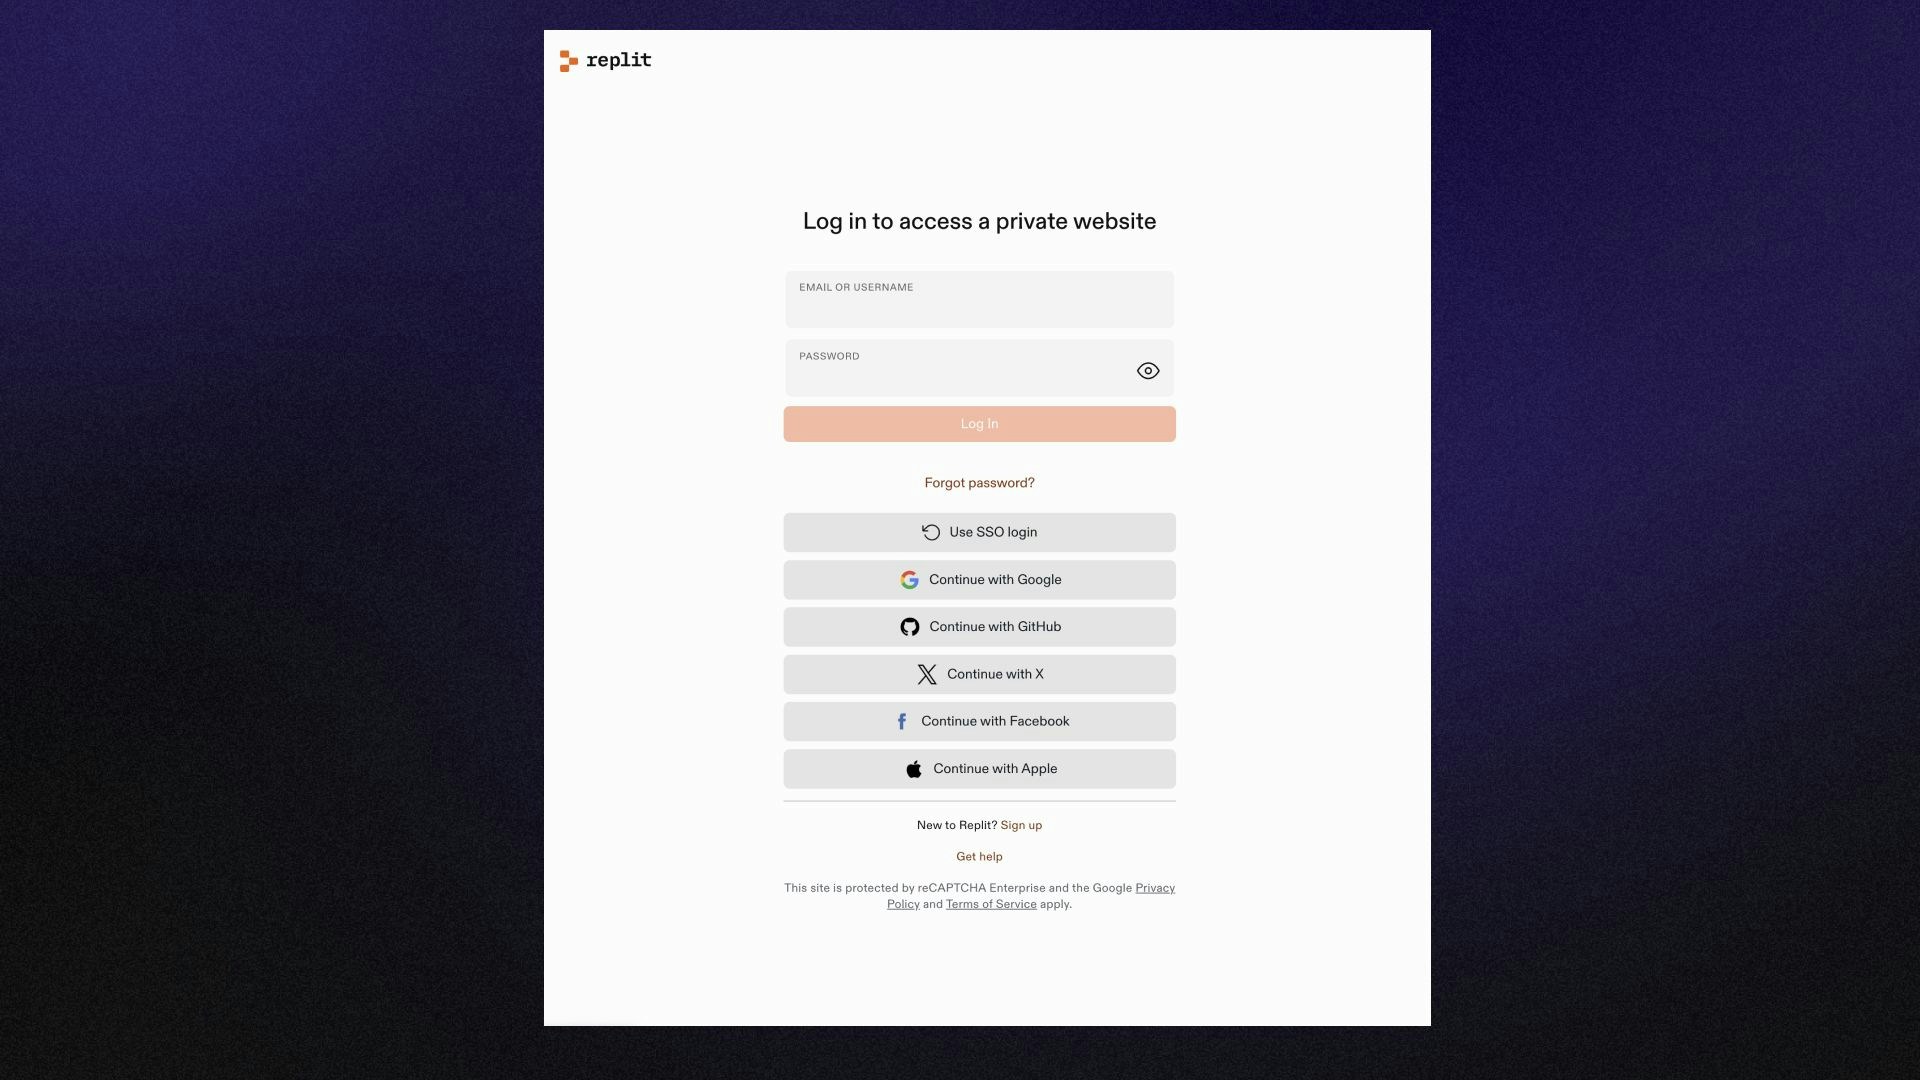
With the two **Private** options, visitors without access are prompted to sign in through Replit before they can view the app. In a personal workspace where you're the only member, **Workspace only** and **Invite only** behave the same way. The distinction matters when you work in a shared workspace with collaborators.
 ## Choose access when you publish
1. Select **Publish** in the top-right of the Project Editor, or open **Publishing** under **Replit Cloud** in the **Tools** pane.
2. Under **Who can access your app**, select **Public**, **Password protected**, **Workspace only**, or **Invite only**.
3. Select **Publish**.
Scheduled Deployments don't have access options because they don't serve a web page.
## Change access for a live app
Changing access requires unpublishing your app first. Unpublish it from the Publishing tool, choose a different option under **Who can access your app**, and publish again.
## Manage who's invited
With **Invite only**, you grant access to individual users or groups from your workspace's access management. Workspace admins always have access. Learn more about [access management](/teams/identity-and-access-management/repl-access-management).
Workspace admins can restrict access options for their organization, including turning off password-protected publishing.
## Next steps
* [Publish your app](/features/publishing/overview): Review the full publish flow.
* [Access management](/teams/identity-and-access-management/repl-access-management): Manage users and groups in your workspace.
## Choose access when you publish
1. Select **Publish** in the top-right of the Project Editor, or open **Publishing** under **Replit Cloud** in the **Tools** pane.
2. Under **Who can access your app**, select **Public**, **Password protected**, **Workspace only**, or **Invite only**.
3. Select **Publish**.
Scheduled Deployments don't have access options because they don't serve a web page.
## Change access for a live app
Changing access requires unpublishing your app first. Unpublish it from the Publishing tool, choose a different option under **Who can access your app**, and publish again.
## Manage who's invited
With **Invite only**, you grant access to individual users or groups from your workspace's access management. Workspace admins always have access. Learn more about [access management](/teams/identity-and-access-management/repl-access-management).
Workspace admins can restrict access options for their organization, including turning off password-protected publishing.
## Next steps
* [Publish your app](/features/publishing/overview): Review the full publish flow.
* [Access management](/teams/identity-and-access-management/repl-access-management): Manage users and groups in your workspace.