What is RevenueCat
RevenueCat allows you to add in-app subscriptions to your native mobile app. To get started, ask Agent to set up a subscription, connect your RevenueCat account, and Agent handles the logic and provides a test environment.Prerequisites
Before you start, you need:- A Replit project created with a Mobile app
- A RevenueCat account (only an email and password are required—no bank account or additional setup needed)
To work on a native mobile app, use the Project Editor at replit.com. Native mobile app work is also available in the Replit Android app where supported. If you’re using the Replit iOS app, open the project on replit.com.
Get started
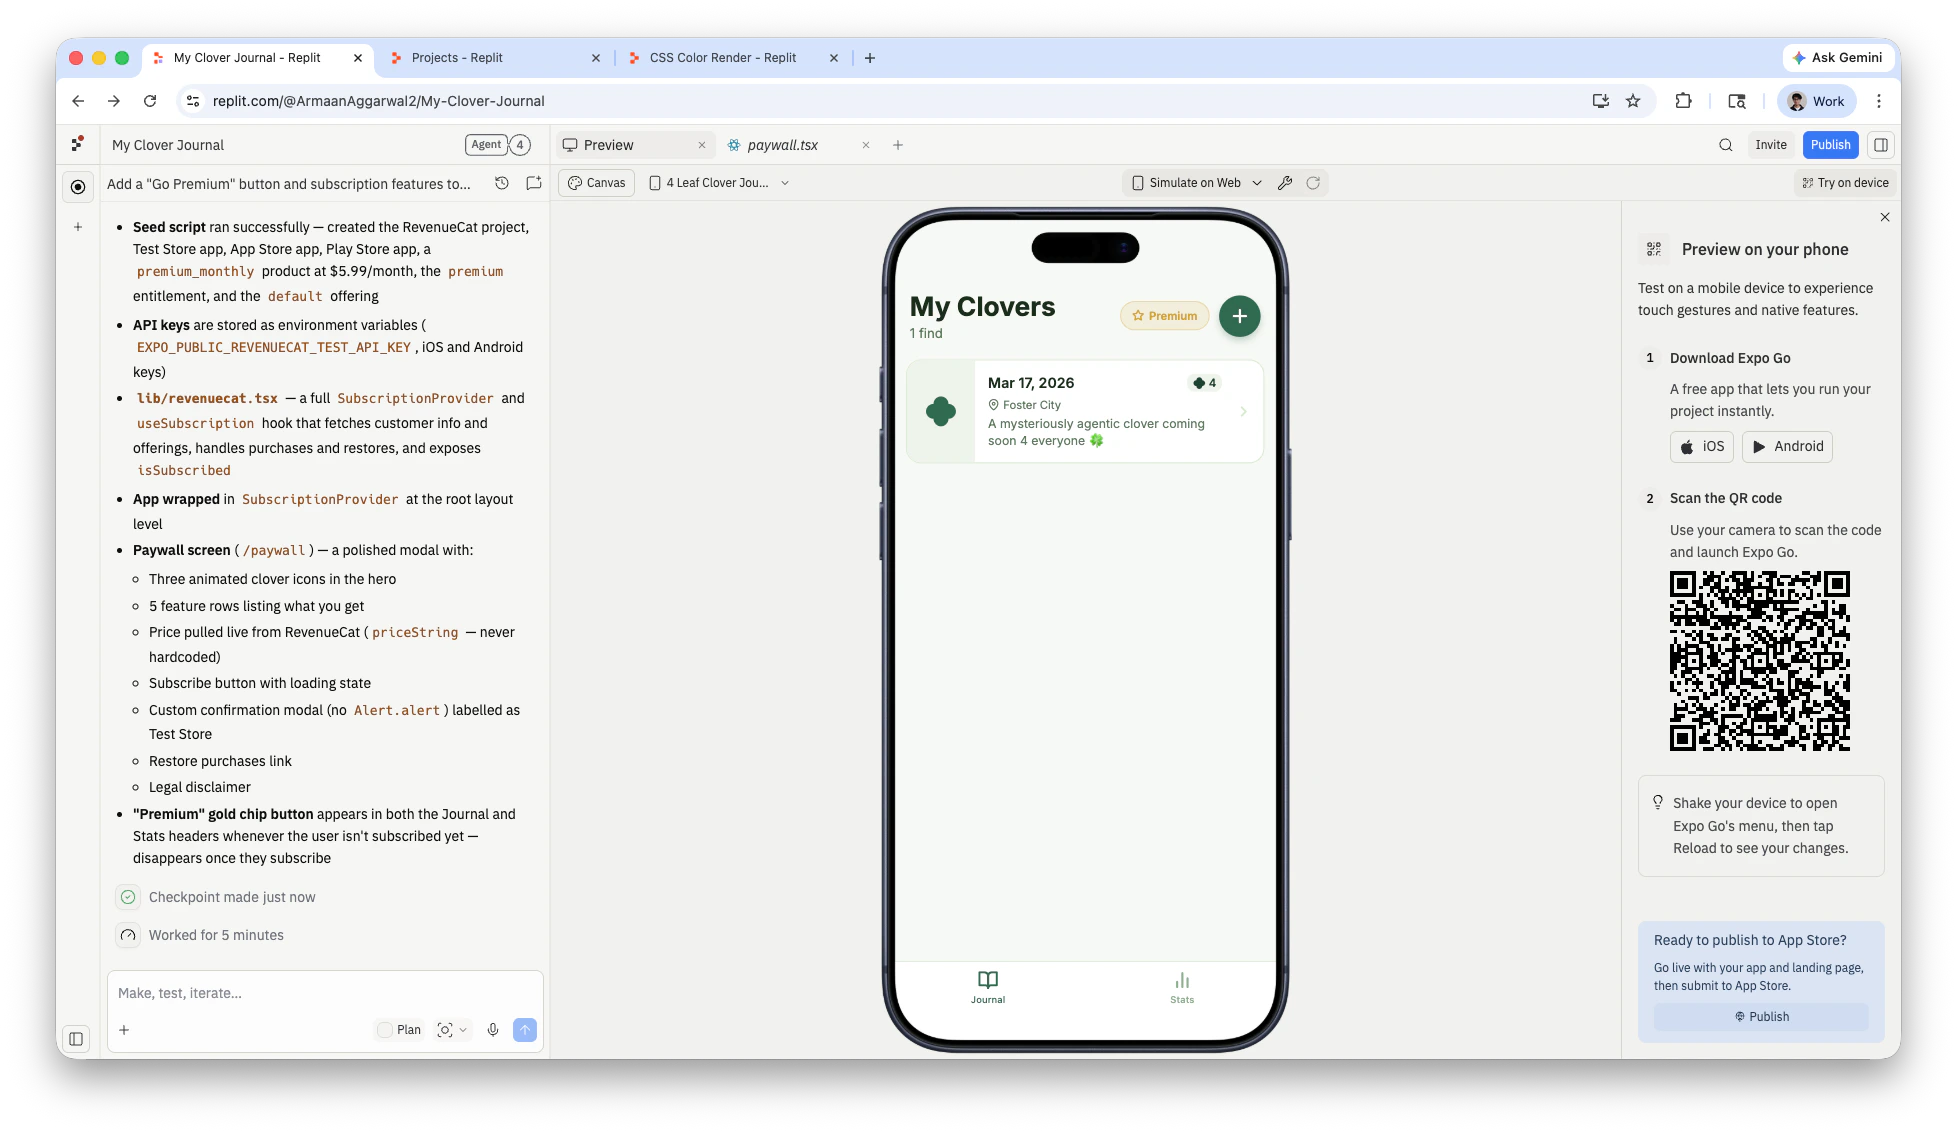
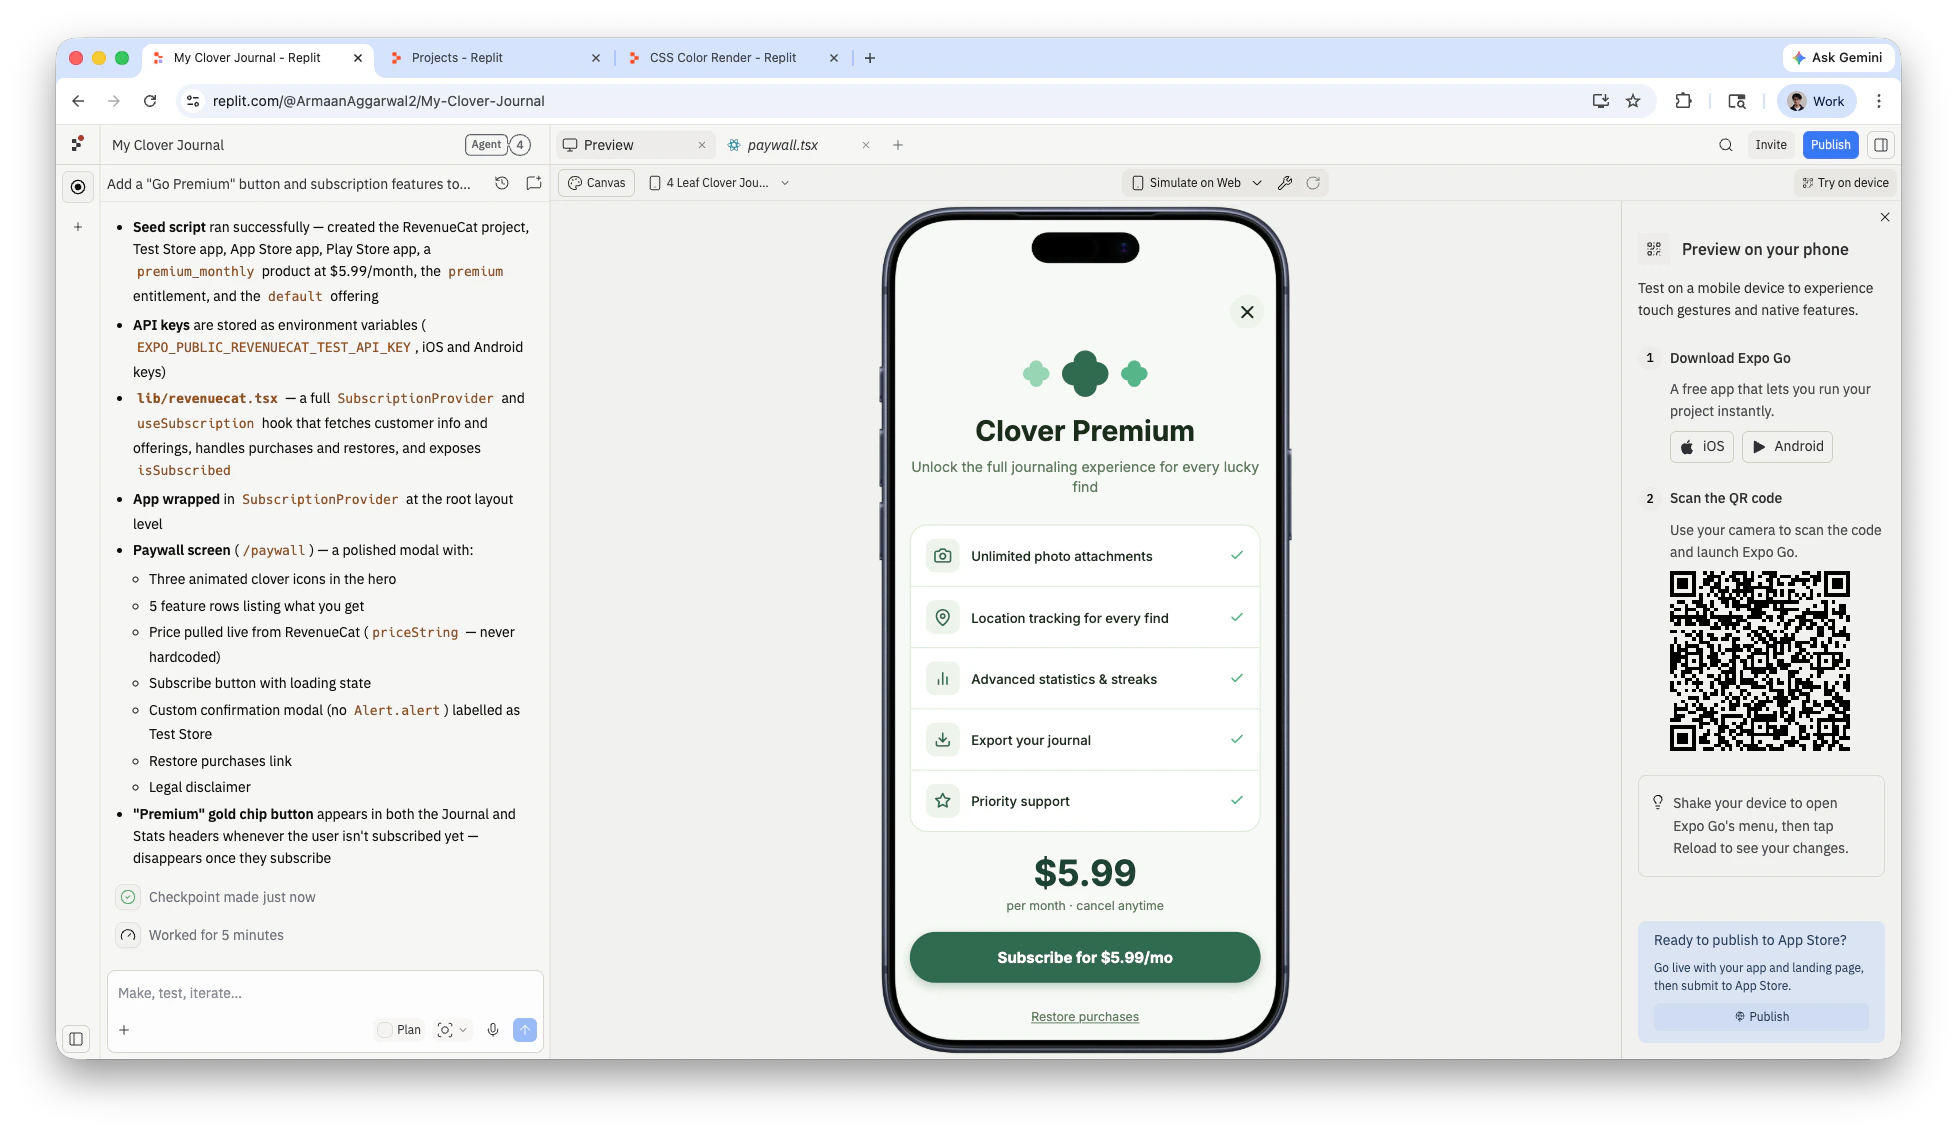
Ask Agent to add a subscription
Describe the subscription you want. Agent plans the integration, installs packages, and sets up RevenueCat.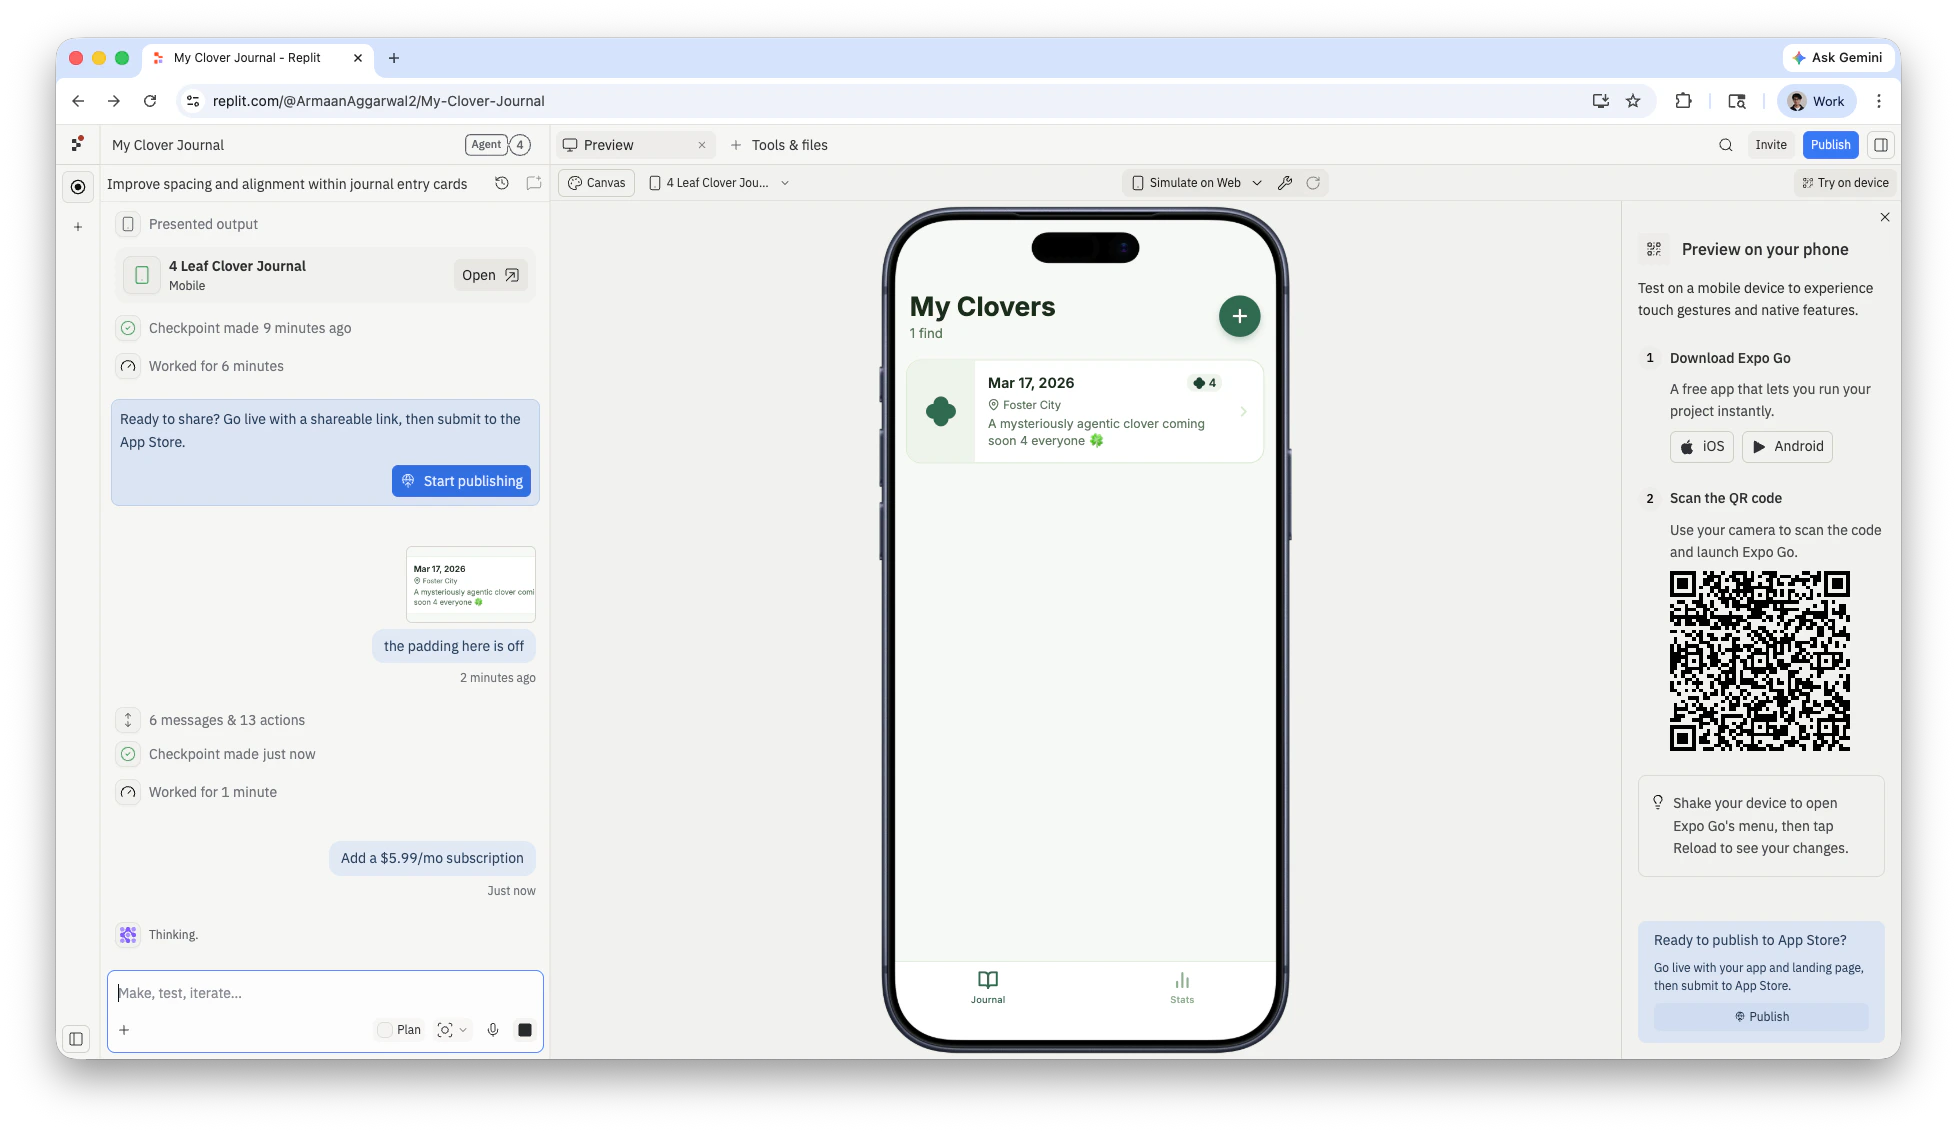
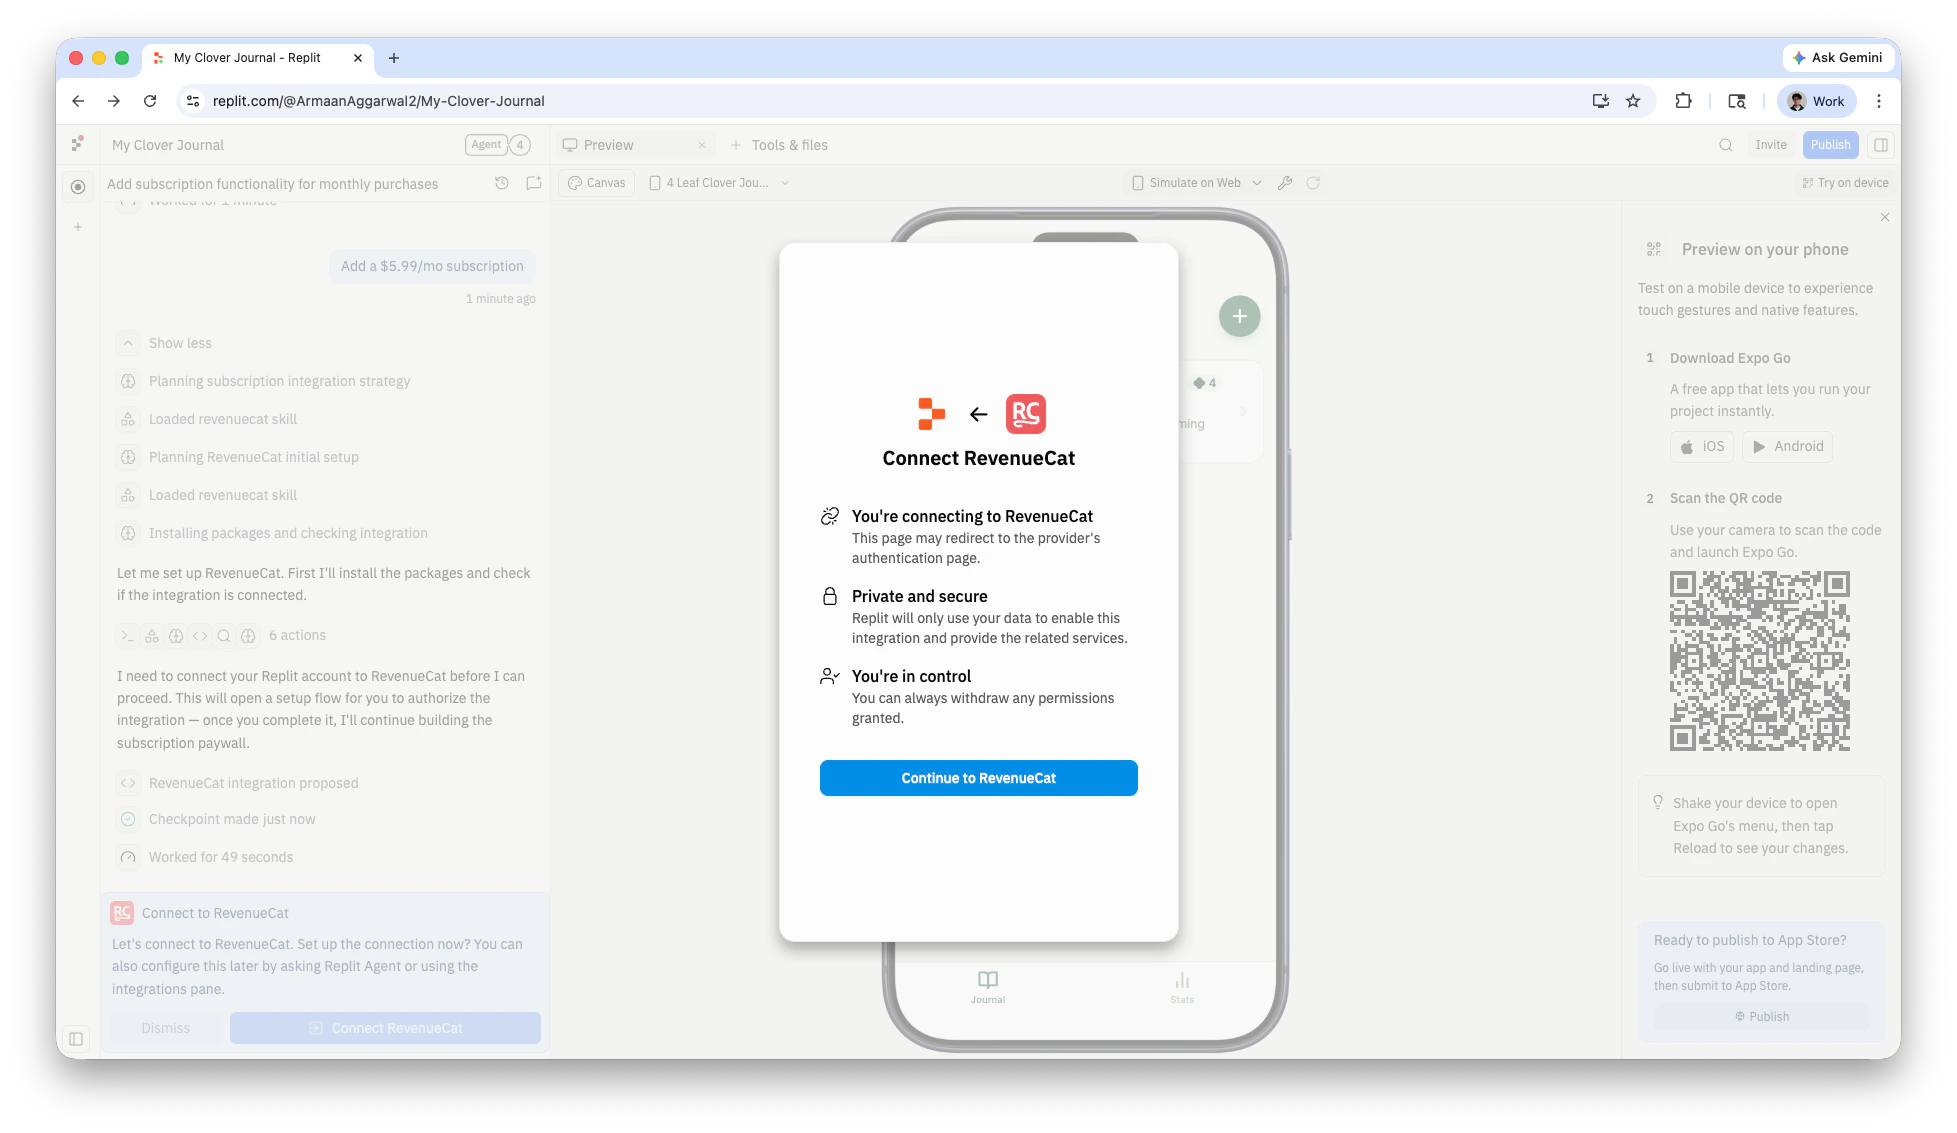
Connect your RevenueCat account
Agent prompts you to connect RevenueCat. Select Connect RevenueCat to begin the authorization flow.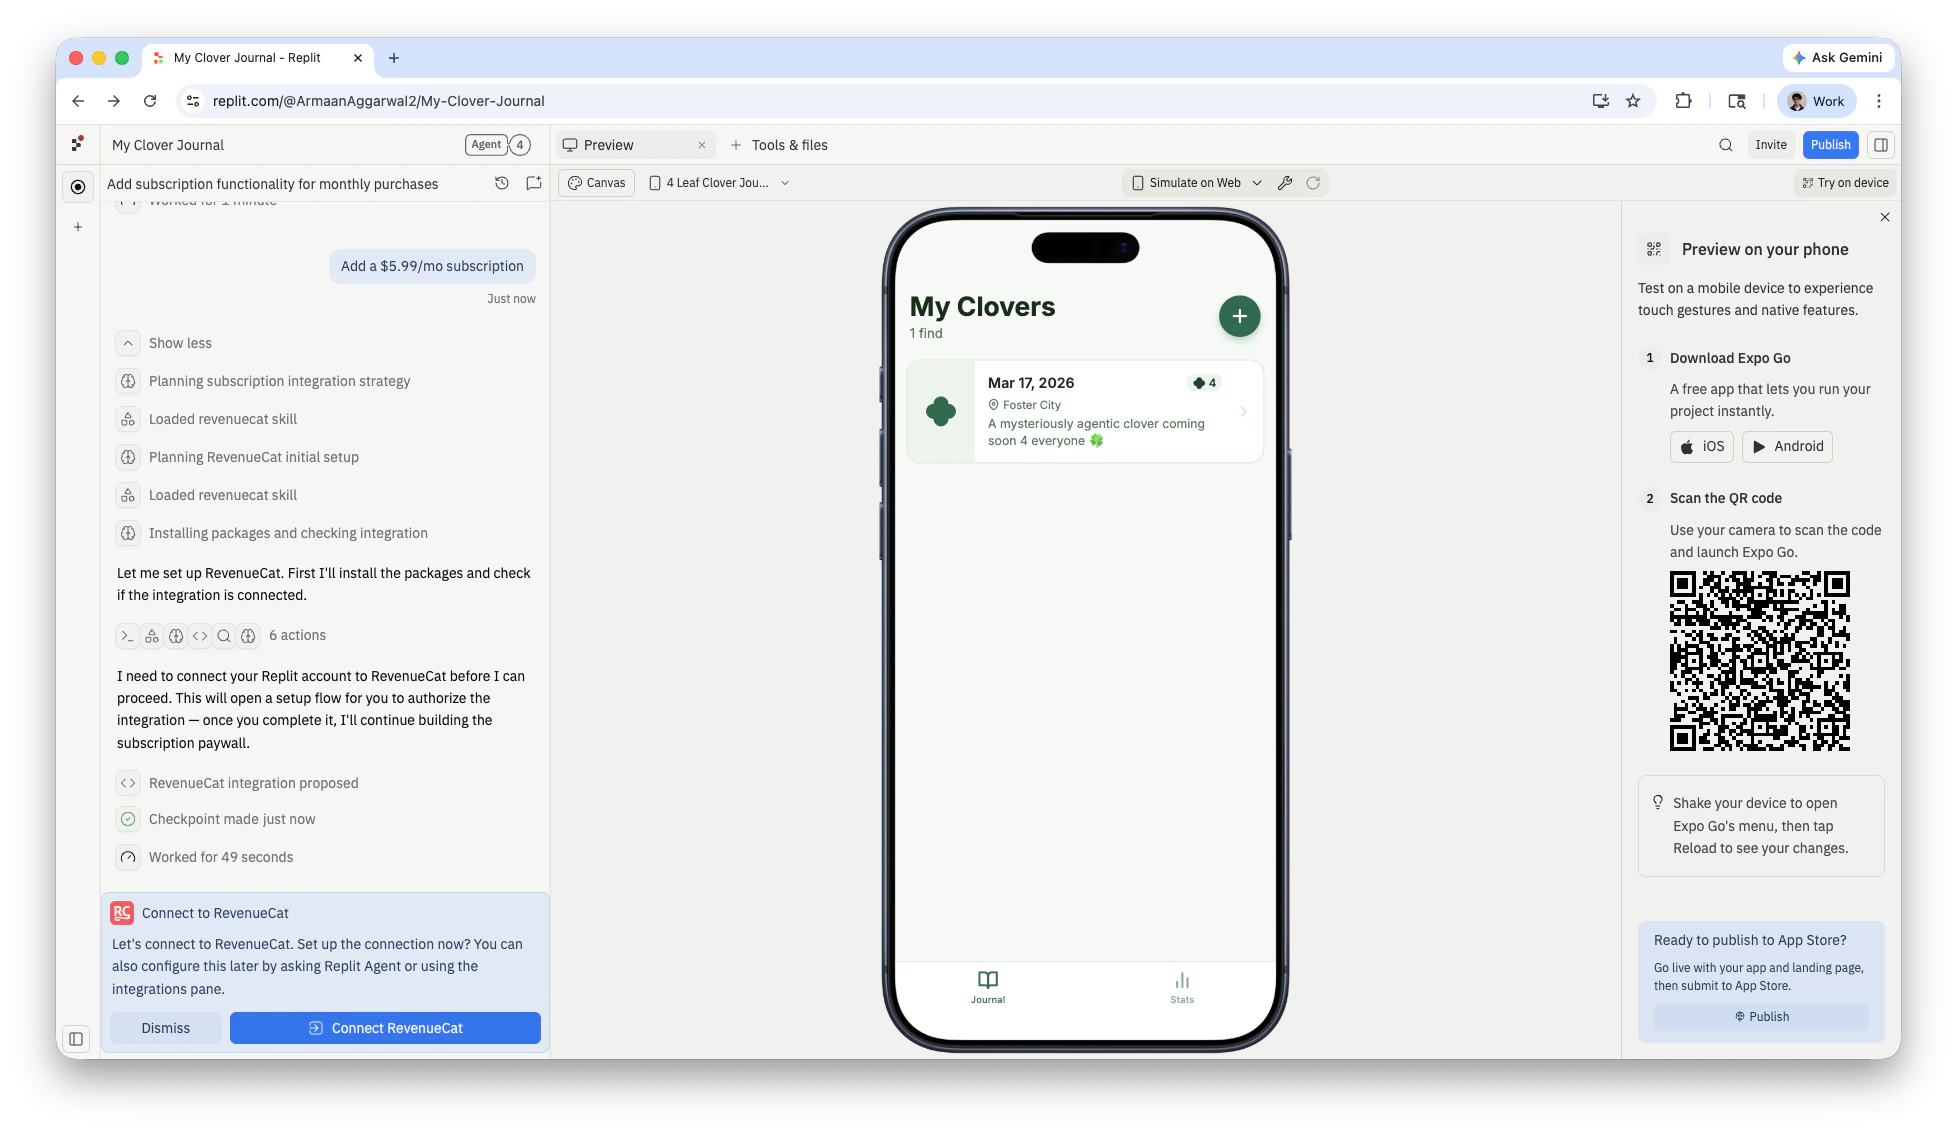
Authorize Replit
On the RevenueCat authorization page, select Read & Write access and then Authorize to grant Replit access to your RevenueCat account.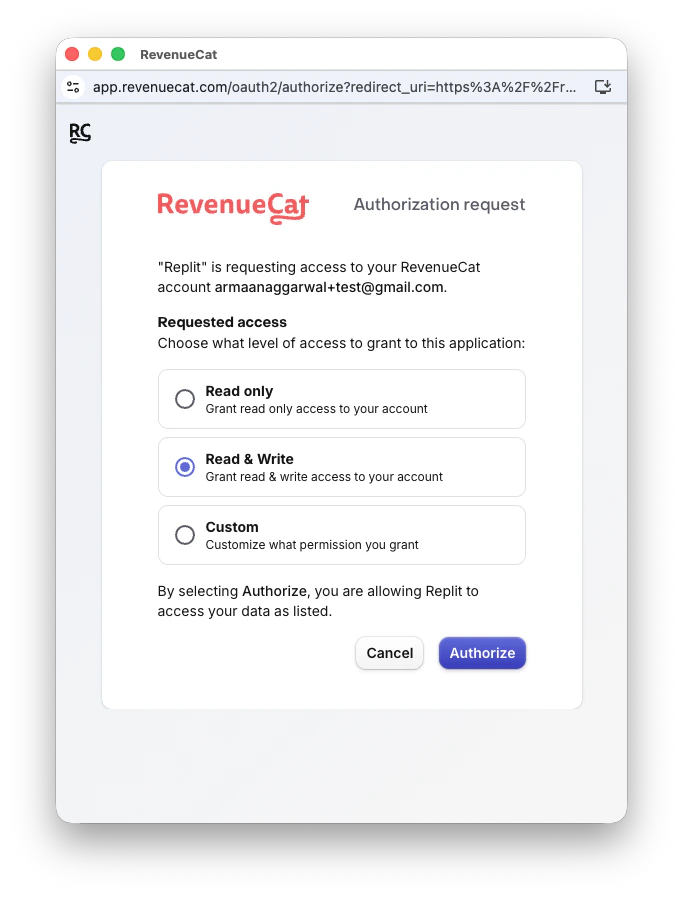
Test subscriptions
Replit previews use RevenueCat’s test mode. When you test a purchase in Expo Go, you see a test purchase dialog instead of a real payment flow. No money is charged.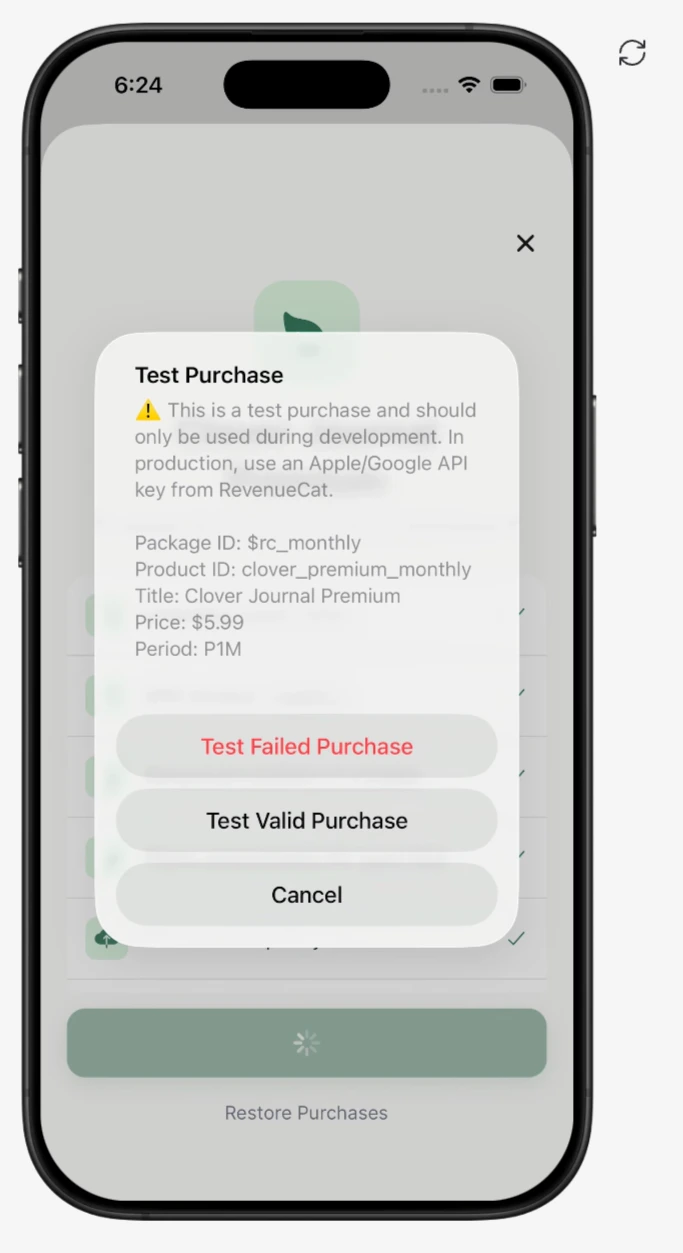
Manage subscriptions
To modify your subscription, ask Agent. For example: Agent updates your RevenueCat product configuration, paywall UI, and subscription logic to reflect the change.
Syncing to App Store Connect
For in-app purchases to work in TestFlight and the Apple App Store, you’ll need to agree to Apple’s Paid Apps Agreement and connect your bank account. This is done through App Store Connect. You’ll need a paid Apple Developer Account before you can submit your app to the App Store. Afterwards, you can sync your in-app purchases configurations from RevenueCat to App Store Connect directly through Replit.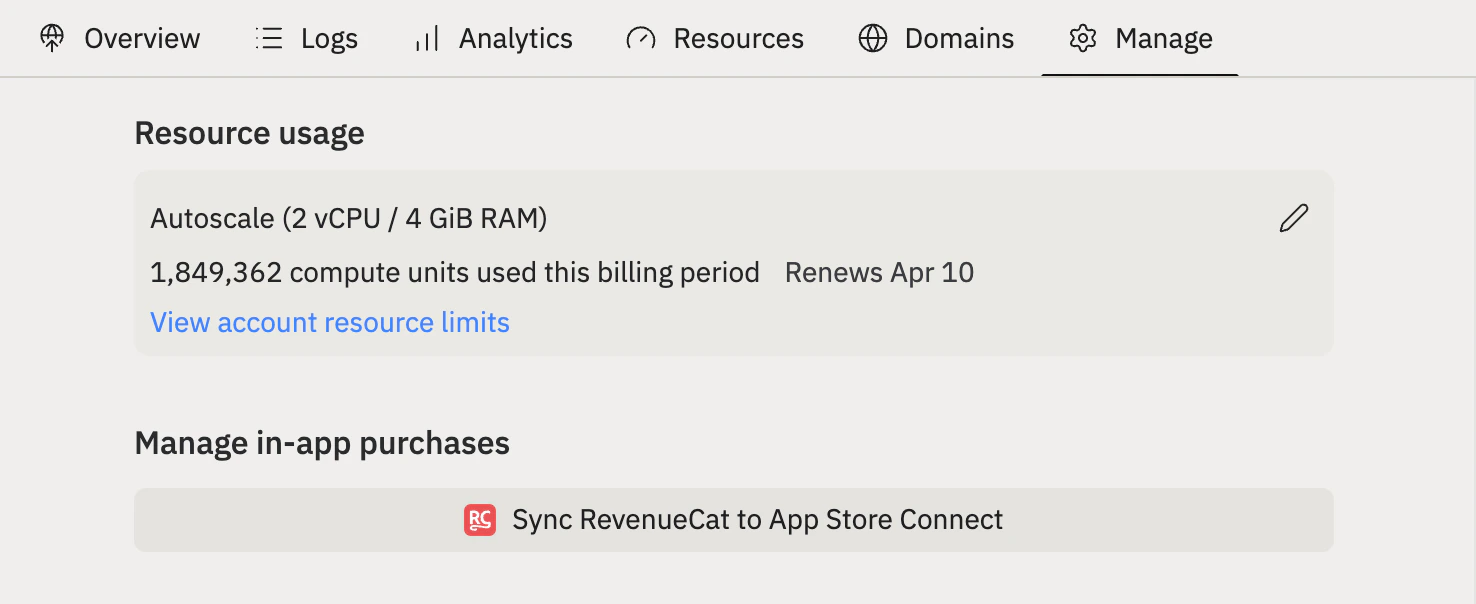
Provide App Store Connect API key
You’ll need to go to App Store Connect to provide this key.In App Store Connect, go to Users and Access, then select the Integrations tab. In the sidebar, select App Store Connect API.When creating a key, be sure to give the key “App Manager” permissions.Download the .p8 file now—you can only download it once. The filename starts with 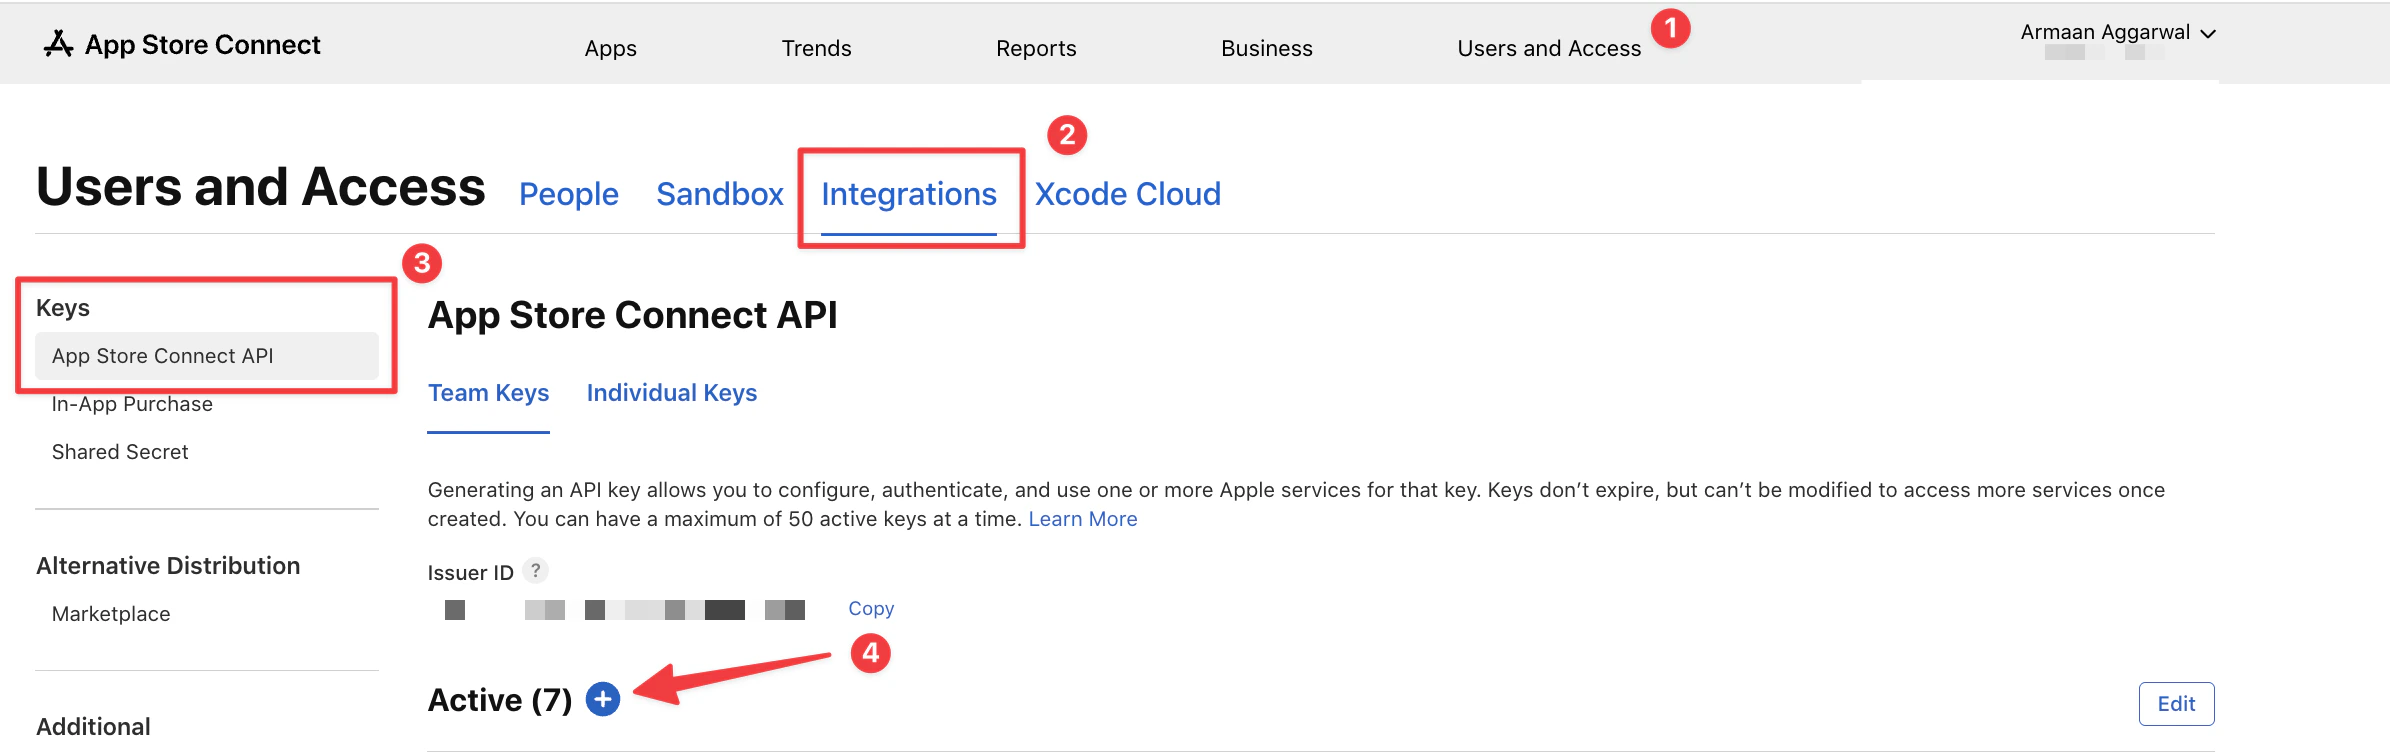
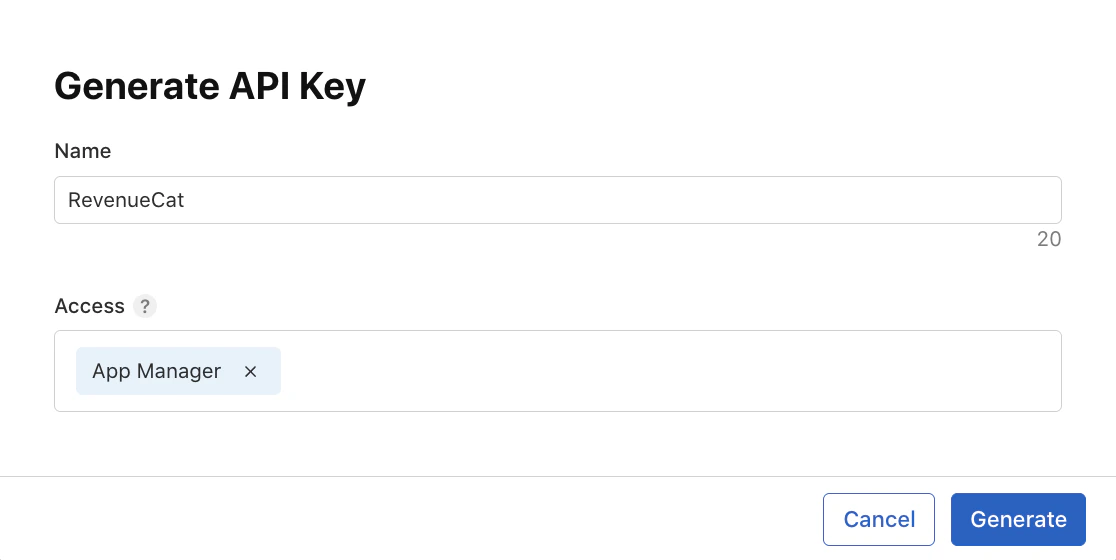
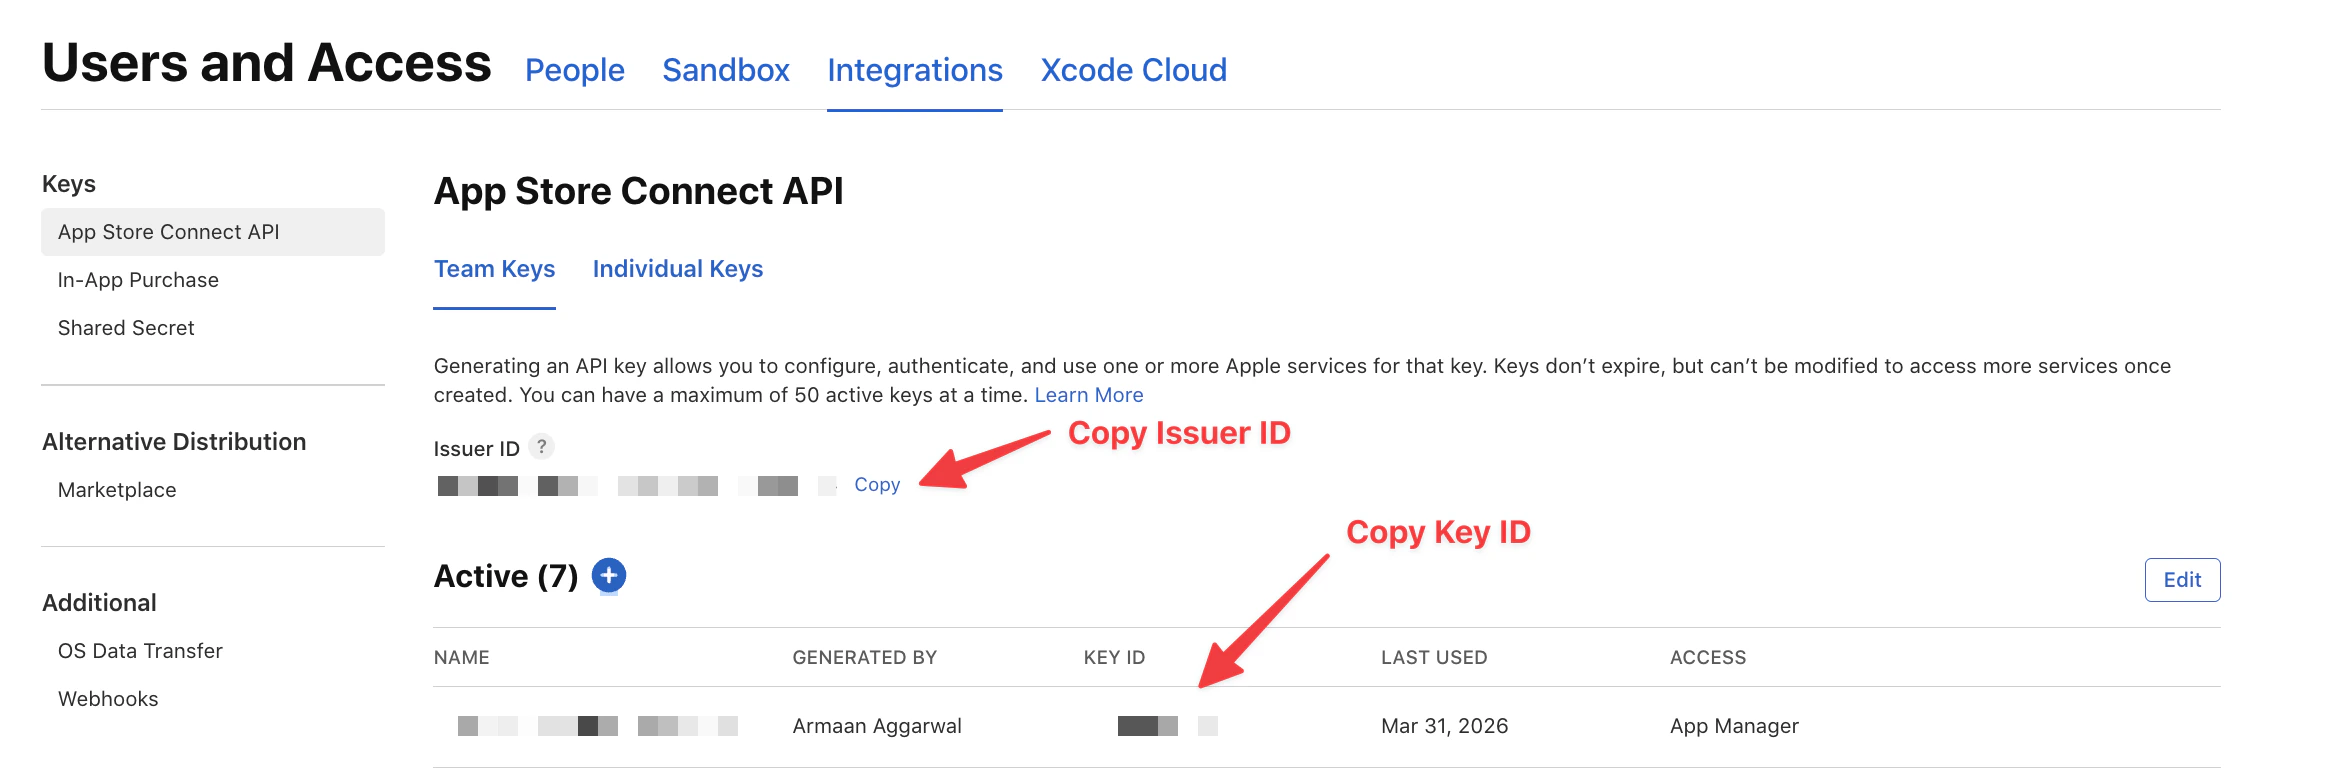
AuthKey_ and ends in .p8.Copy the Key ID and Issuer ID shown on this page.Create an In-App Purchase API key
Repeat the previous step for an In-App Purchase API key.
In the sidebar, select In-App Purchase. Then create an API key with App Manager permissions.
Download the .p8 key (filename starts with 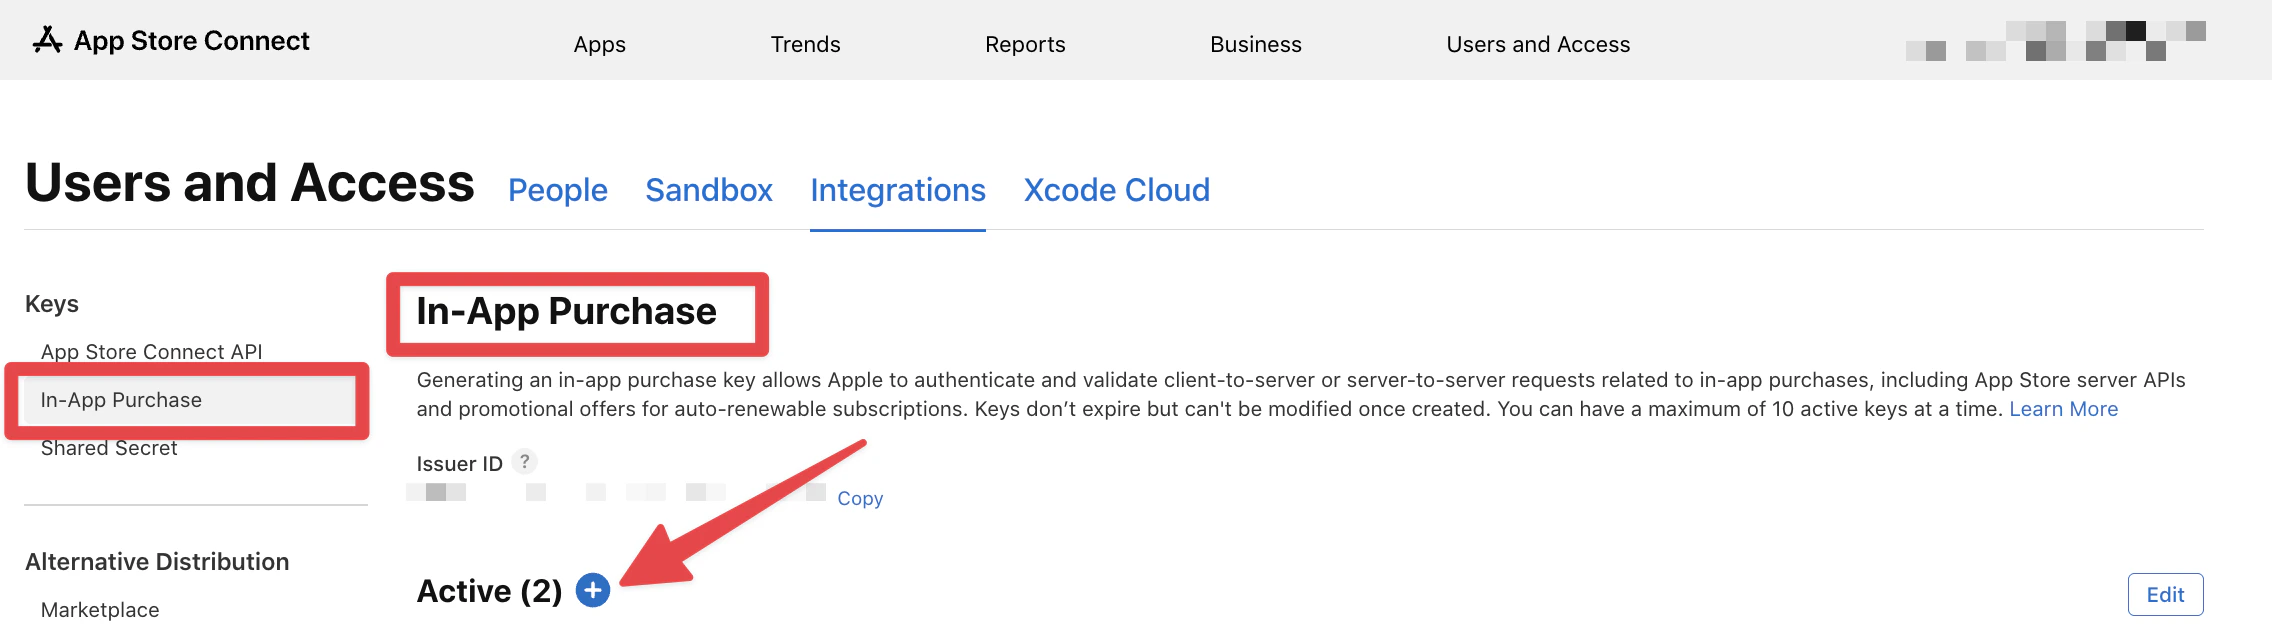
SubscriptionKey_ and ends in .p8). Copy the Key ID and Issuer ID.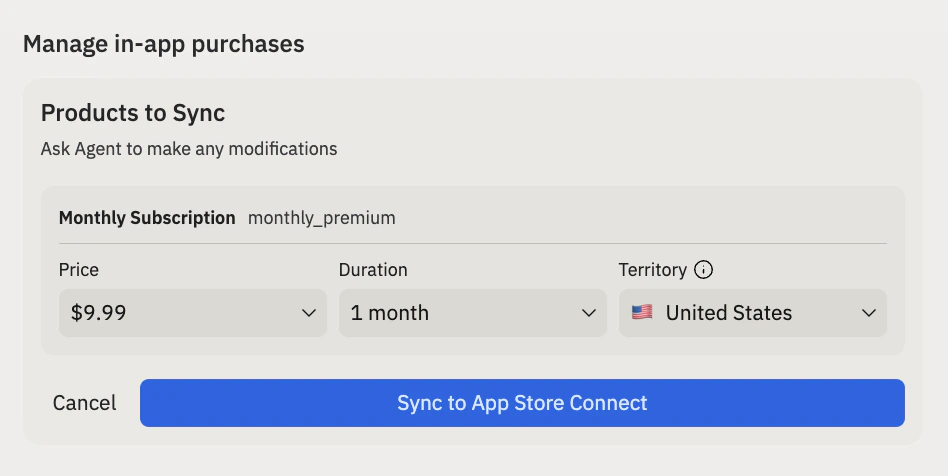
Frequently asked questions
Do I need a bank account to use RevenueCat?
Do I need a bank account to use RevenueCat?
No. You only need an email and password to create a RevenueCat account. Bank
account setup is handled separately through Apple or Google when you are
ready to receive payouts from the App Store or Google Play.
Are test purchases charged?
Are test purchases charged?
No. During development, Replit previews use RevenueCat’s test mode.
Purchases are simulated and no real charges are made. Real charges only
apply after Apple App Review approves your app.
Can I use RevenueCat with a web app?
Can I use RevenueCat with a web app?
RevenueCat is designed for native mobile apps. To add subscriptions to a web
app, use the Stripe integration
instead.
What can I configure with RevenueCat?
What can I configure with RevenueCat?
You can set up monthly or yearly subscriptions, configure pricing, manage
entitlements, and build paywalls. Ask Agent to make changes—it handles both
the RevenueCat configuration and your app code.